As I've pretty much exhausted the build thread on Frodo's enclosure, I figured I'd start a new one on Sam's.
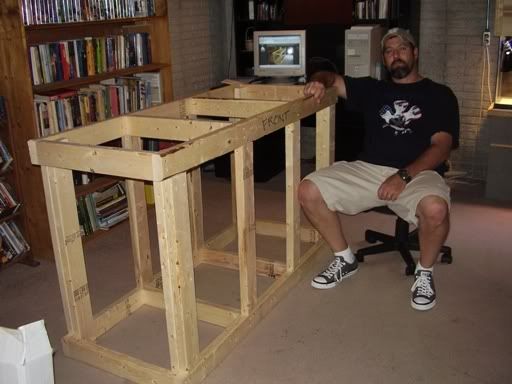
Here's the framing for the stand. To give you an idea of it's size, I'm using a picture of me sitting by it.
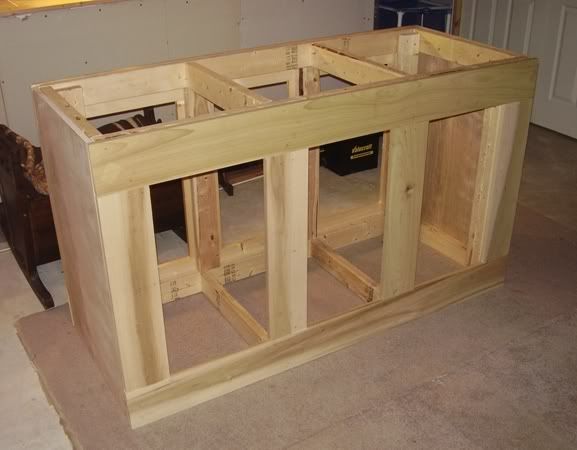
Other than the framing, the entire enclosure was built out of cabinet grade birch plywood and boards.
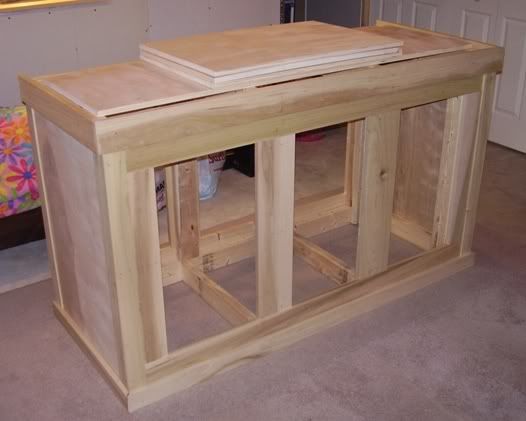
Some trim added.
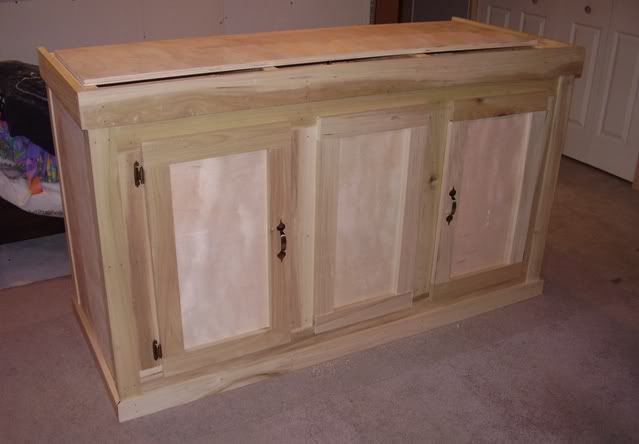
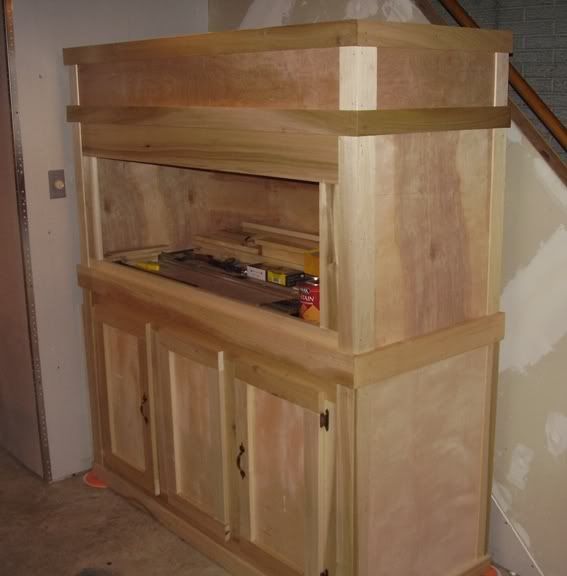
The center piece does not open, but the two outside sections are access doors for storage under the enclosure.
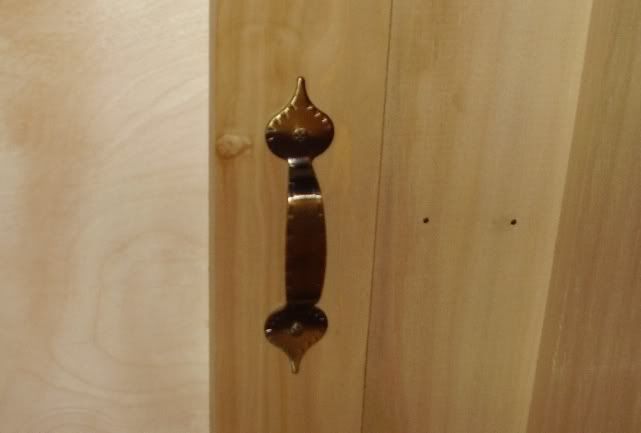
This is a close-up of one of the handles.
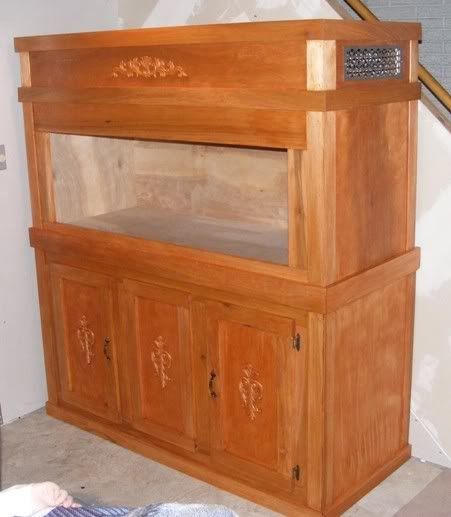
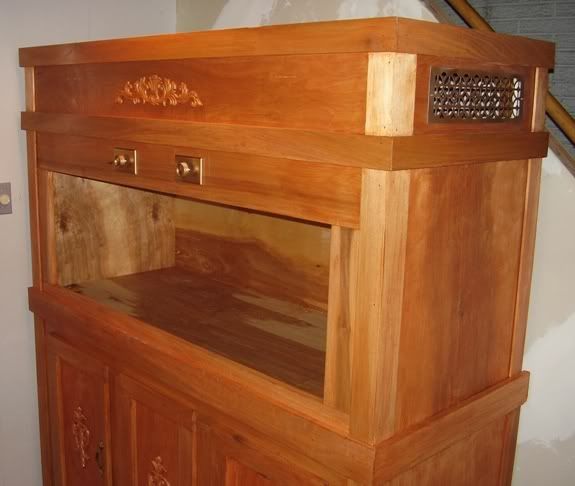
Evidently I didn't take any pictures when I built the enclosure itself. Here, you can see the stand, the enclosure and the canopy.
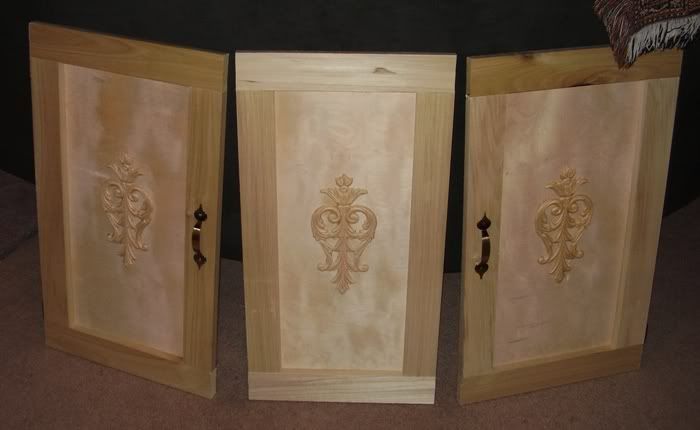
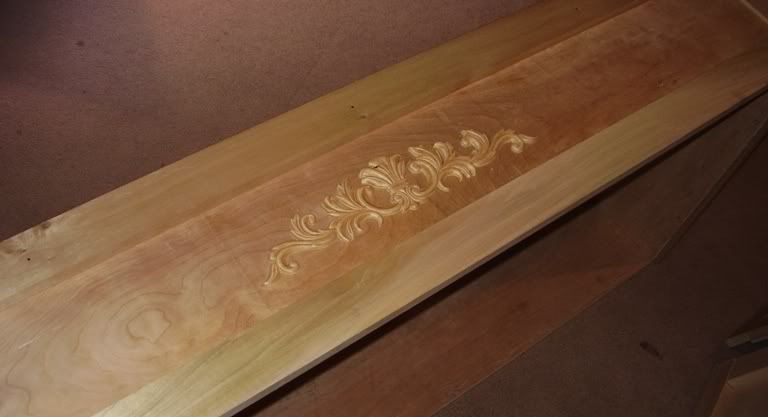
Found some nice decorative pieces at Home Depot and added them to the front of the stand and canopy.
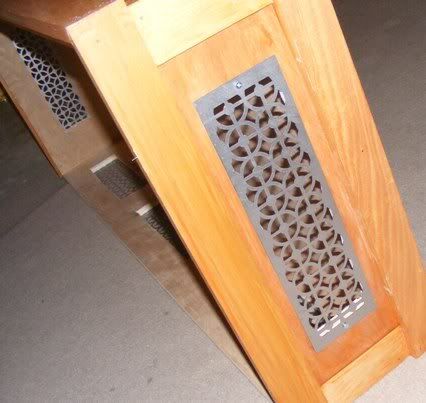
I designed the vent pattern and had them cut from a laser cutter at work. Having a Scottish background, I had to include a celtic cross in the pattern.")
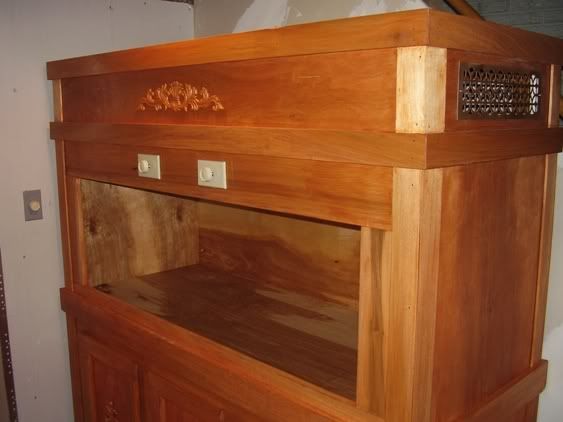
Here it is stained.
Dimmer switches added.
Lights mounted.
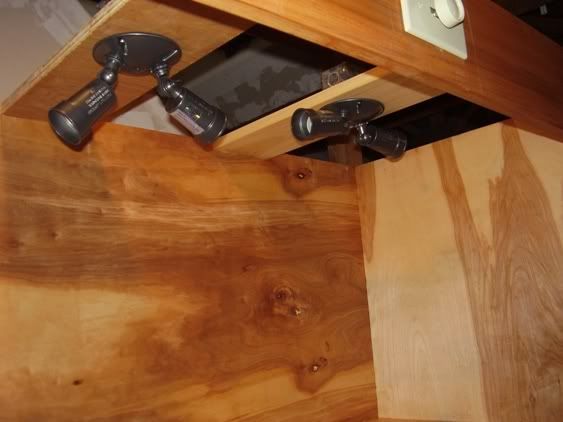
A sneak peek at the electricals.
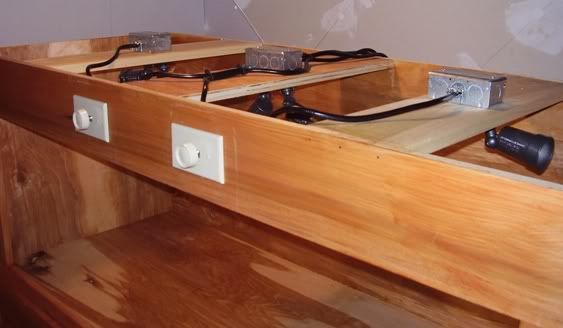
Then I decided to paint the dimmer switches the same color as the vents....gold.
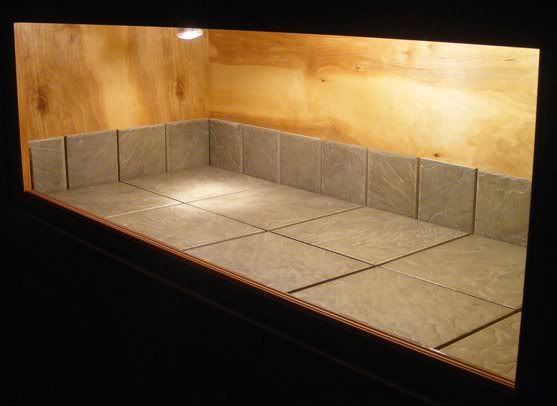
Tile siliconed in.
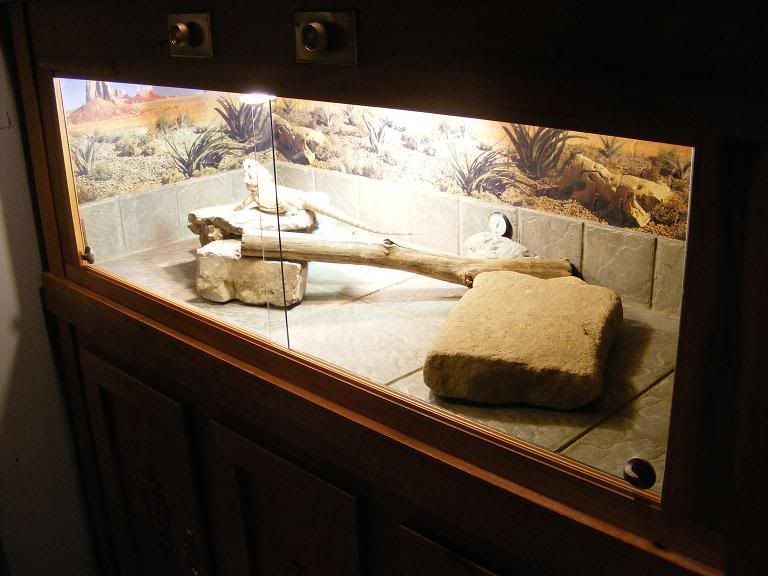
And, evidently, that was the last picture I took before having completed it. Here's the finished product. Desert background and sliding front glass doors. I had the tempered glass cut at a local glass shop. Not all that expensive, really. $40 for both pieces....1/8" thick.
Here's the framing for the stand. To give you an idea of it's size, I'm using a picture of me sitting by it.
Other than the framing, the entire enclosure was built out of cabinet grade birch plywood and boards.
Some trim added.
The center piece does not open, but the two outside sections are access doors for storage under the enclosure.
This is a close-up of one of the handles.
Evidently I didn't take any pictures when I built the enclosure itself. Here, you can see the stand, the enclosure and the canopy.
Found some nice decorative pieces at Home Depot and added them to the front of the stand and canopy.
I designed the vent pattern and had them cut from a laser cutter at work. Having a Scottish background, I had to include a celtic cross in the pattern.
Here it is stained.
Dimmer switches added.
Lights mounted.
A sneak peek at the electricals.
Then I decided to paint the dimmer switches the same color as the vents....gold.
Tile siliconed in.
And, evidently, that was the last picture I took before having completed it. Here's the finished product. Desert background and sliding front glass doors. I had the tempered glass cut at a local glass shop. Not all that expensive, really. $40 for both pieces....1/8" thick.
")
