• Hello guest! Are you a Bearded Dragon enthusiast? If so we invite you to join our community and see what it has to offer. Our site is specifically designed for you and it's a great place for Beardie enthusiasts to meet online. Once you join you'll be able to post messages, upload pictures of your dragons and enclosures and have a great time with other Bearded Dragon enthusiasts. Sign up today!

Building a Viv

Craiger

Bearded Dragon Egg
3 Year Member
1,000+ Post Club
Messages
1,682
Thanks guys. I really appreciate the welcome! I'll have to fill you all in on my adventures sometime, Renee. It's been a fun ride....mostly. LOL!

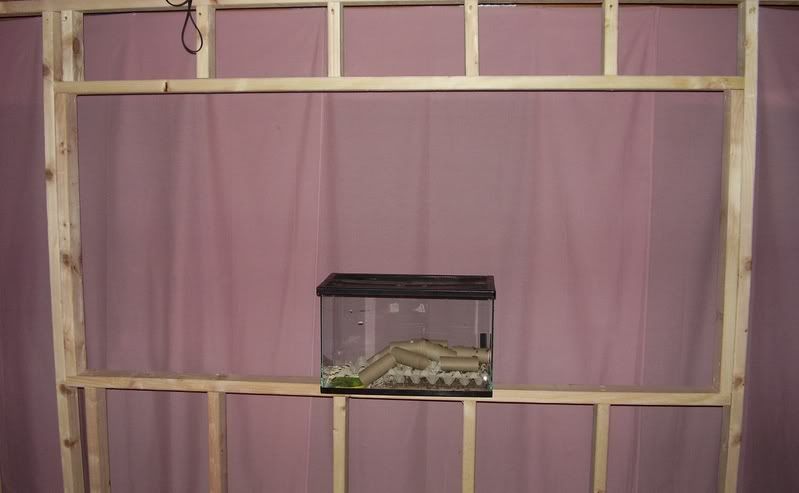
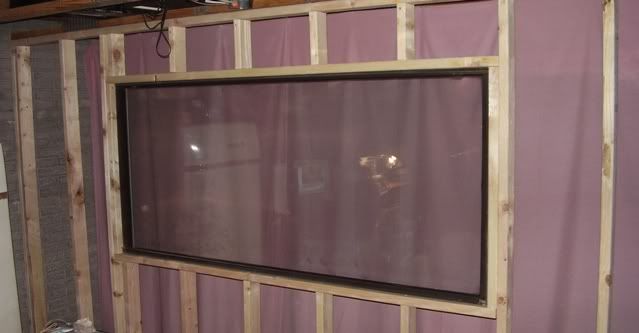
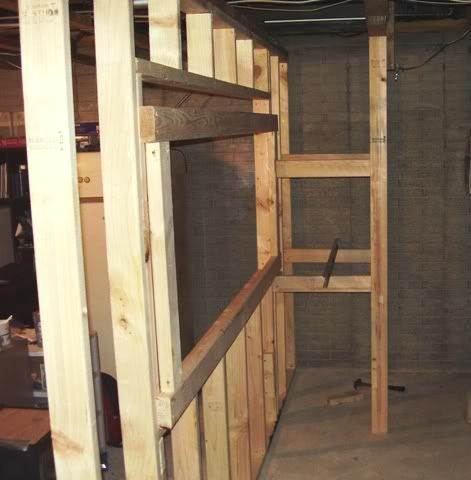
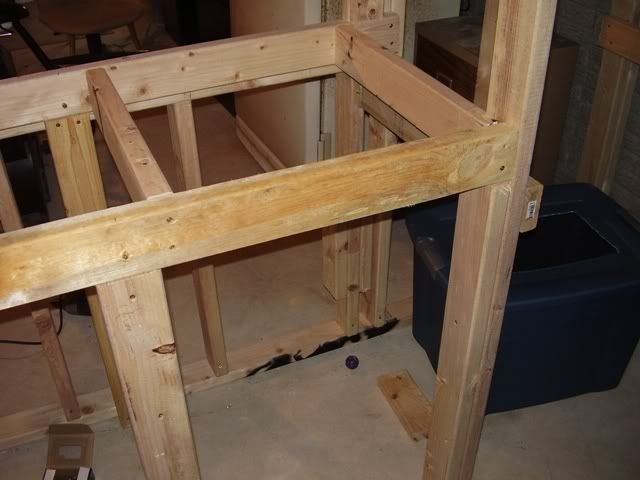
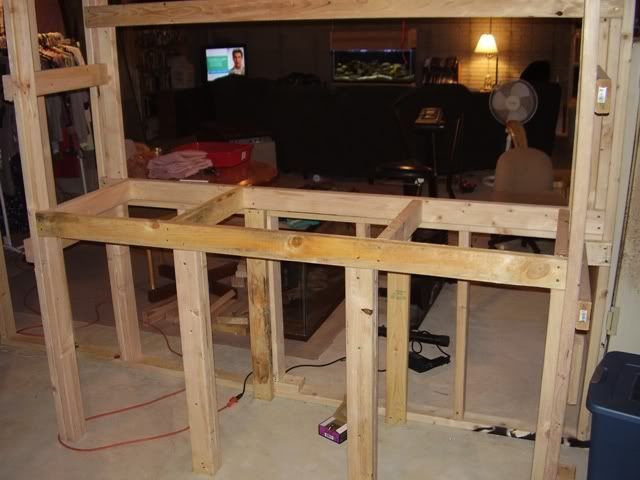
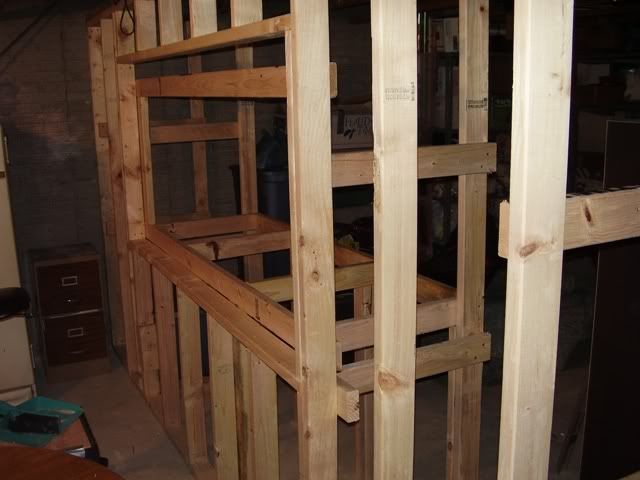
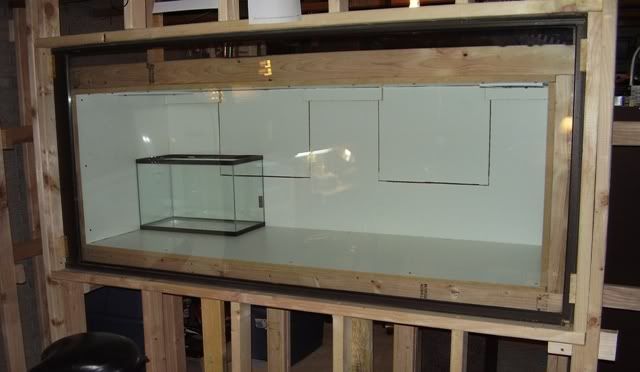
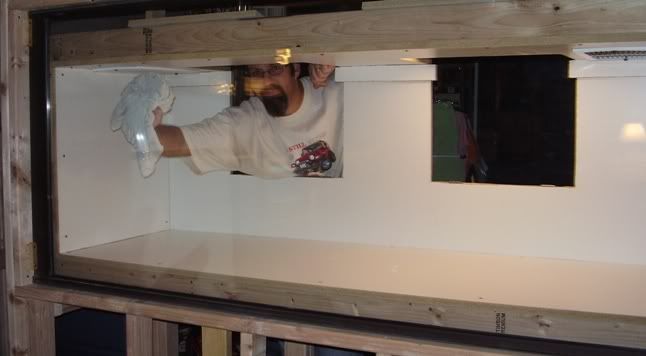
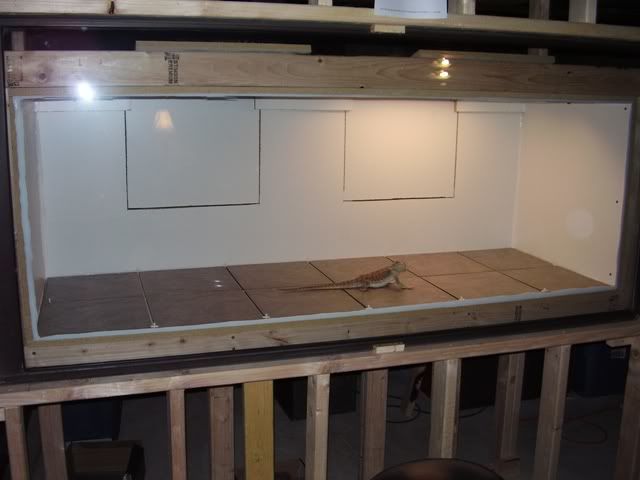
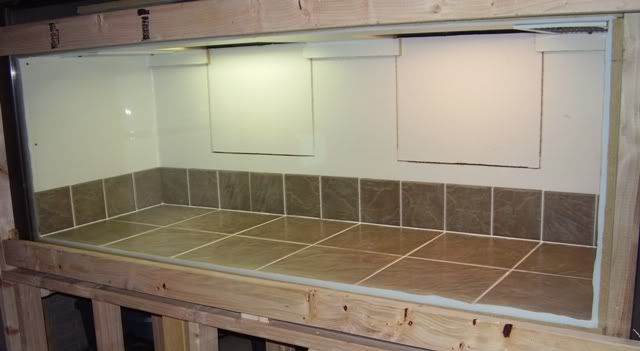
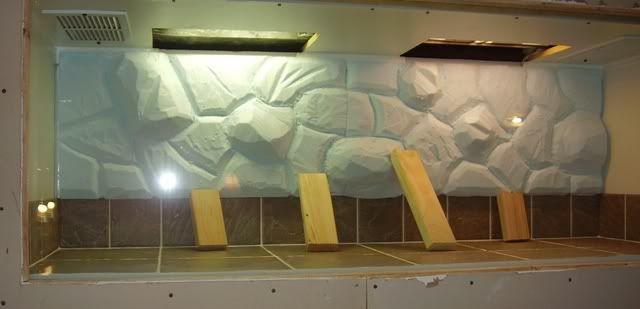
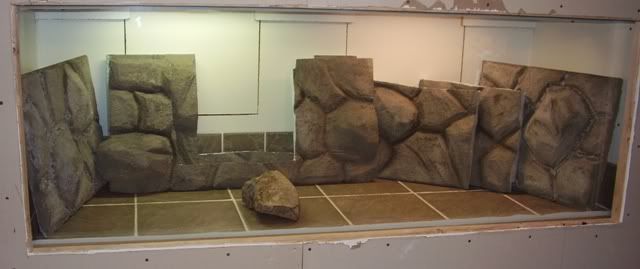
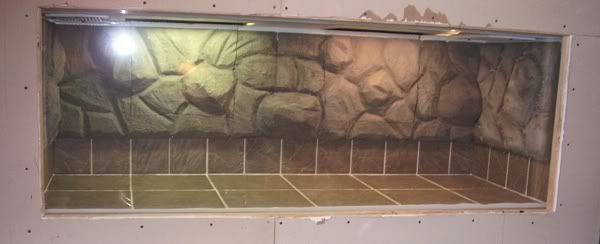
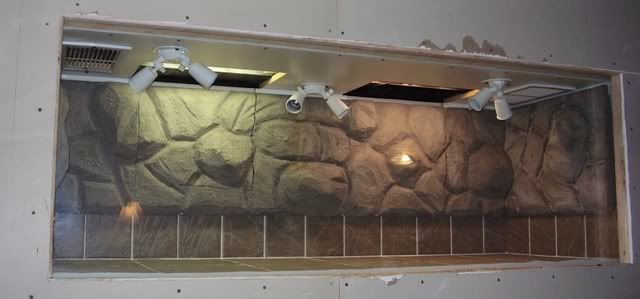
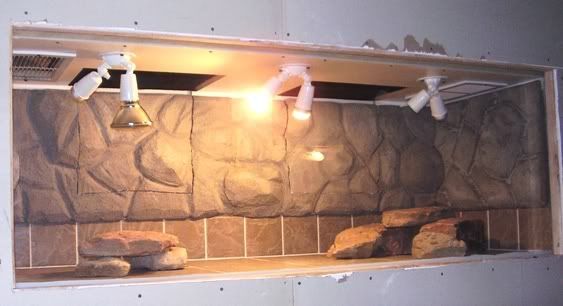
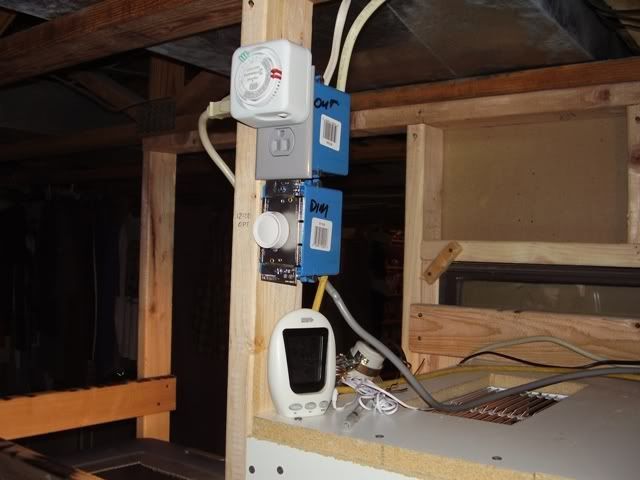
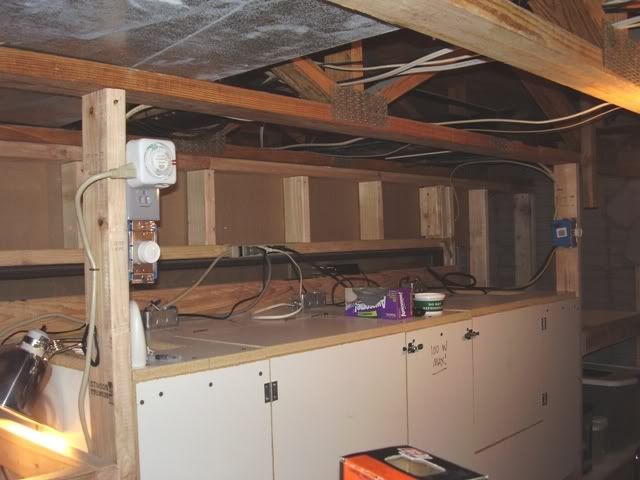
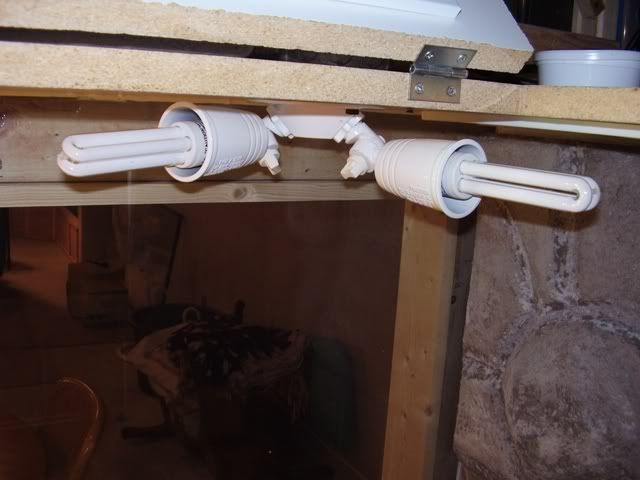
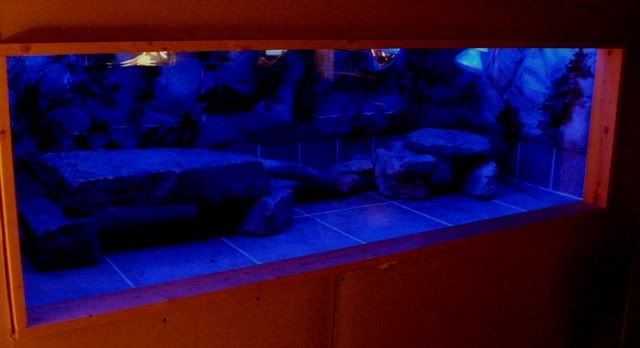
How long did it take to build each? A couple months, at least. I did a lot of homework before and while building them. Sometimes, plans got changed. Most of the time, they stayed right on course with everything I had in my head. Which, by the way, is exactly how each was done. Kind of "on-the-fly" more or less. I think the first, Frodo's, might have taken the longest, but Gandalf's probably rivals it pretty good. His is fully insulated with vapor barrier. With it being built into the basement concrete walls, I wanted it thermally protected. All three are in the basement, but Gandalf's is the only one on external walls.

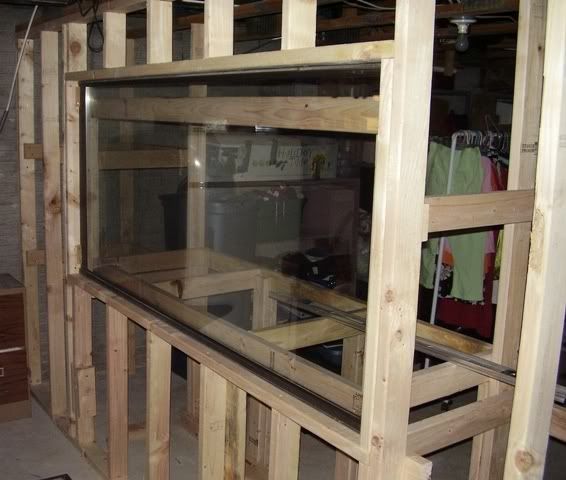
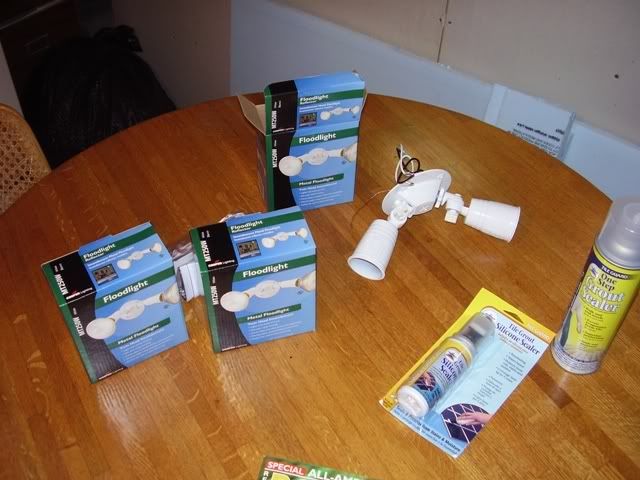
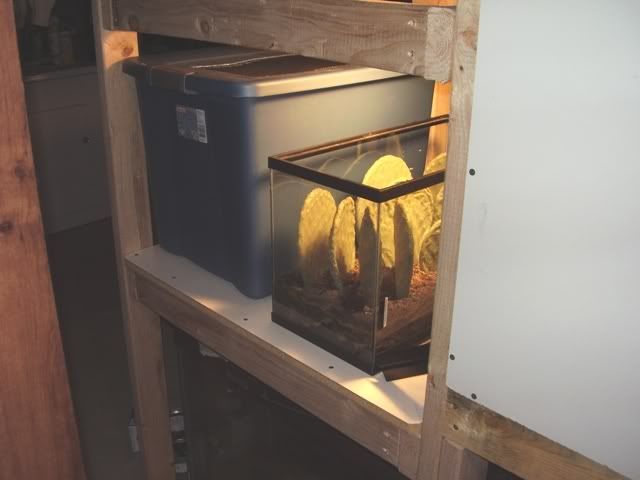
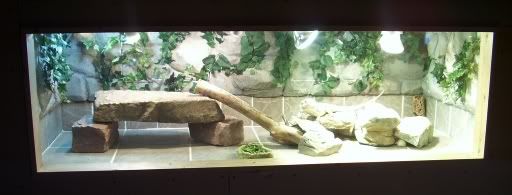
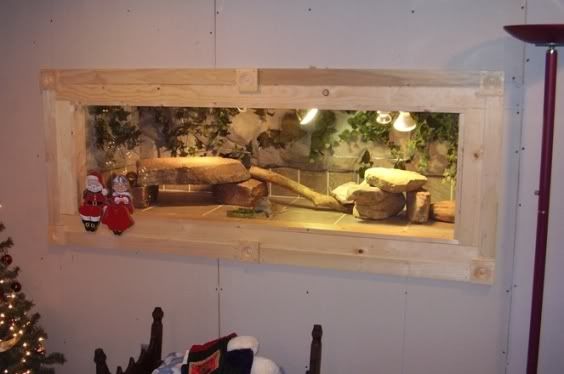
Cost wasn't cheap for them. Frodo's was somewhere around $600-$750 (basement wall included). Granted, I'd already had some materials laying around and got the patio doors for free. His window is a patio door built into the wall. Double pane. :)

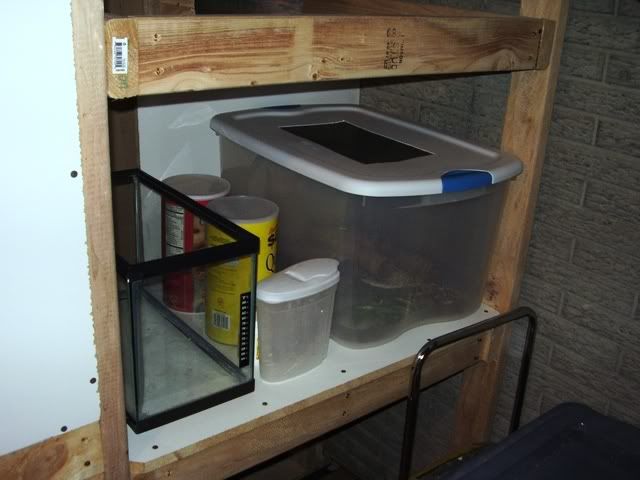
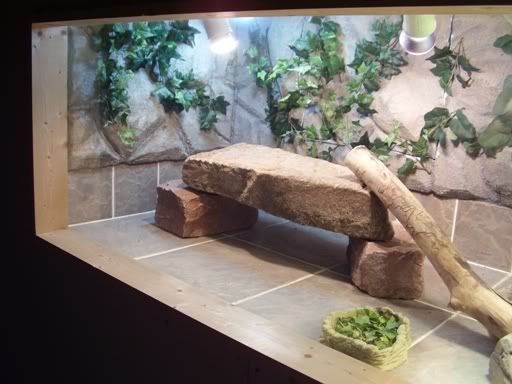
Sam's cost me around $800...and Gandalf's....I might have lost count on it. I think it might have put me around a grand when it was all said and done.

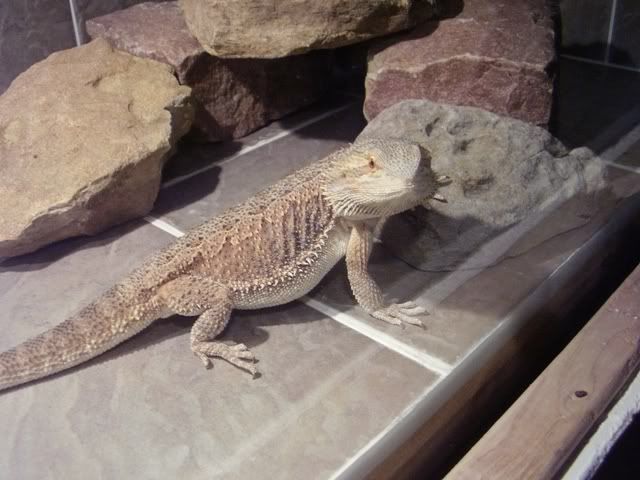
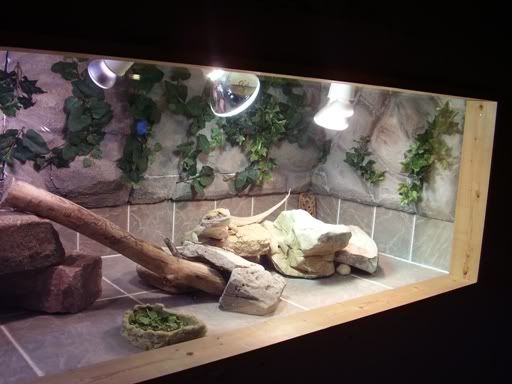
Building Frodo's enclosure was the reason for my first back surgery. Three and half years, 5 disc herniations, 4 spinal surgeries (with another possibly very soon), and a major shoulder surgery later, and things have gone pretty slow for me around here. For example....

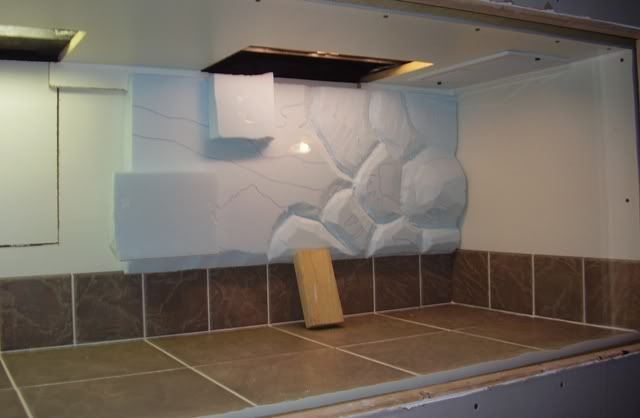
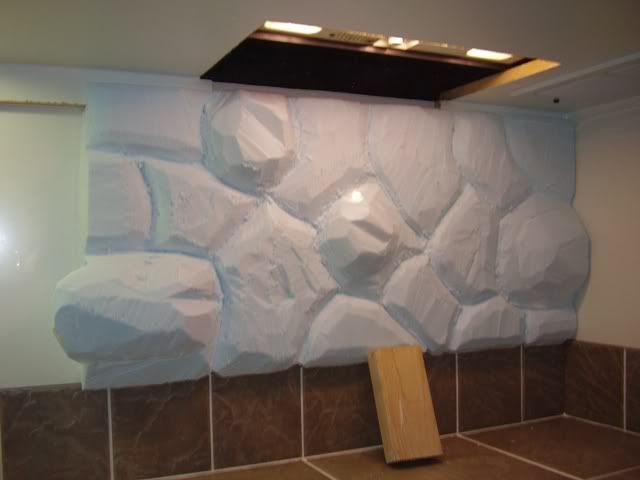
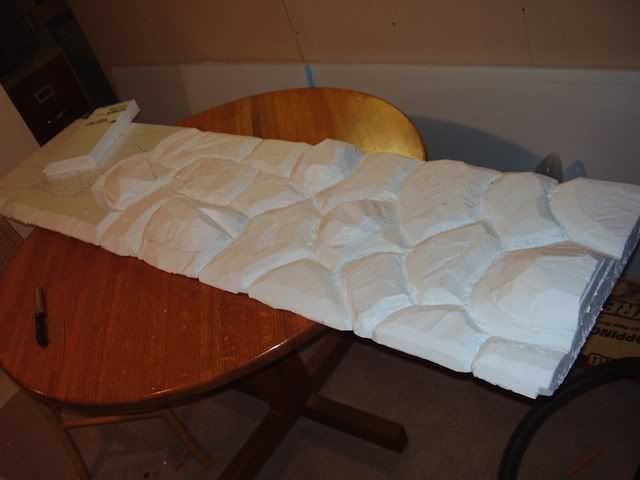
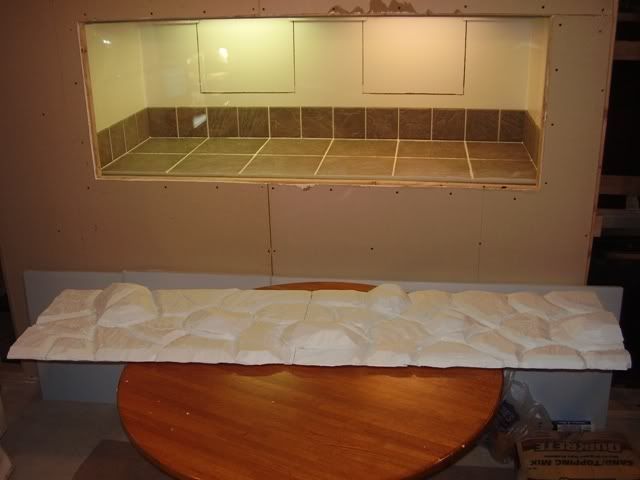
I'm trying to finish a fireplace I've built in the basement, too. It currently looks like this, minus the Christmas decorations. It's been like this for about a year. Actually, longer....now that I think about it. Geez....where's the time going? Sorry for the bad pic.
Fireplace11.jpg


My wife and I just came from Lowes. We were looking at flooring for the basement. Looks like we're going with 18" square adhesive tile. Just what I need....bending over and installing tile for hours at a time. I might have to hire the twins' boyfriends to come over and install it for me. That way, I can get some practice with my bullwhip. It's been a while.
 

corrine

Bearded Dragon Egg
3 Year Member
Messages
850
Craiger said:
Yeah, I like your ideas so far on size. Just not real keen on the height. You want to keep the top a bit closer to the floor to be used in mounting lights and such. When they're 3 and 4 feet high, it makes it harder to get basking temps right. Beardies aren't nearly as arboreal as other lizards (like igs). So you want to keep structure a bit lower to the ground. I'd go for 2 feet high if I were you, Corrine.

Honestly, I had about the same idea as you when I started 4 years ago. Gina (Ladyknite) schooled me on the exact same topic....and for the same reasons.

I will go with 2 ft high then.
 

renich

Juvenile Dragon
3 Year Member
1,000+ Post Club
Messages
3,001
Hi, I split your intro post and created this new one. I was getting a bit confused if we were welcoming you or learning the specs for building a viv. ;D
 

Craiger

Bearded Dragon Egg
3 Year Member
1,000+ Post Club
Messages
1,682
Renee said:
Hi, I split your intro post and created this new one. I was getting a bit confused if we were welcoming you or learning the specs for building a viv. ;D

Hey, that's cool, Renee. Thanks. I'll go ahead and post pics of my build process for each of them. It'll probably turn into quite a lengthy thread, but might be useful to some of our "greener" members when it comes to construction. Today, I'll start with Frodo's.....since it was the first one.

This was the initial wall that I started putting in. I "think" that was a 10g tank housing some crickets....just to give you an idea of size. Granted, the entire window didn't end up being that big, but pretty close.

Lair.jpg

Lair1-1.jpg


Here, I picked the best side of the patio glass doors to use as the window.
Lair2-1.jpg


Then, started adding the framing for the shelving on each side of the enclosure.
Lair3.jpg


Later, I'll start talking about the framing for the enclosure itself.
 

beardie_love

Bearded Dragon Egg
3 Year Member
Messages
711
Oh, okay, Renee. I was wondering where that big long post Craiger put on the other topic! Because I wanted to read it again. ;D I was like "I swear he replied to my question as to how long each enclosure took to build!"
 

Craiger

Bearded Dragon Egg
3 Year Member
1,000+ Post Club
Messages
1,682
Okay...time for some more pics. Here, I'm starting on the enclosure framing.

Lair4.jpg


Ah....I see the ole African Cichlid tank in the background. And wow! The basement was messy back then. LOL!
Lair5.jpg


Did I mention something about going overboard? This thing isn't going anywhere.
Lair6.jpg


Window installed. You can see how much of the top and bottom of the window gets encapsulated in the wall. This is one of those areas where planning was changed mid-build...as I initially wanted to use the entire patio door for the window. Figured 2' high was all I wanted to do.
Lair7a.jpg


Holy cow! I must not have posted much while building the actual enclosure. Here's one of the back doors open. They actually open sideways like a regular door, now, instead of dropping down.
Lair14.jpg


Here's that same 10g tank for size reference.
Lair16.jpg


Time to clean the glass. With the top and back doors open, I have plenty of room to get around inside.
Lair17.jpg


Again, size reference. Plus, I just wanted to see what Frodo would do inside his new home. I don't think he did much more than sitting there. Tile was not siliconed in just yet, but just laying in there with the little spacers between them.
Frodo69.jpg


Tile and backsplash siliconed, grouted and sealed. Let me tell you, that sealer will choke you out of the home. I used the aerosol spray kind. *cough-cough* Perhaps I should have wore a mask while spraying it.
Lair21.jpg


Next, I'll post pics of the background. Figure this is enough for now.
 

zebraflavencs

Bearded Dragon Egg
3 Year Member
1,000+ Post Club
Messages
3,558
Very Nice...
Now.. there is this room that needs a new wall, Craig... *grins*
Janie
 

staylor

Bearded Dragon Egg
3 Year Member
1,000+ Post Club
Messages
1,948
You make it look so easy, am going to use some of your ideas in my build.

If your wife ever gets mad at you, you can pick which lizard you want to bunk with for the night. They all have enough room to share with you.
 

Craiger

Bearded Dragon Egg
3 Year Member
1,000+ Post Club
Messages
1,682
Thanks guys.

staylor said:
If your wife ever gets mad at you, you can pick which lizard you want to bunk with for the night. They all have enough room to share with you.

That's an easy answer. Gandalf has enough room for me to put a small bed in his. LOL!
 

Craiger

Bearded Dragon Egg
3 Year Member
1,000+ Post Club
Messages
1,682
Okay.....more pics. ;D

This is the insulation I used to make the background. I found it at Lowes. It was 2" thick, 2' wide and 8' long. Somewhere around $8 a sheet. Not bad. I bought 2.

Styroandcaulk.jpg


Initial carving. In this picture, you can see how I cut squares and siliconed them to the bottom layer. These were used to create rocks that appeared to be protruding out of the background further than those carved from the bottom layer.

Lair23.jpg


And this is how they turned out. There's 4 rocks that were carved from two layers in this pic.

Lair26.jpg


The rest of the background made to fill the back wall. Still some carving to be done.

Lair27.jpg


All carved.

Lair29.jpg


Test fit. Of course, I still needed to cut the openings for the rear door access.

Lair30.jpg


One side complete with 4 layers of concrete (with brown Dye added) and sealed. Also, you can see the cut lines for the rear door access.

Lair34.jpg


All pieces done and curing.

Lair36.jpg


This is what they looked like installed.

Lair38.jpg


These are the lights I ended up going with. Made for outdoor use.

Lair40.jpg


Lights installed. You can also see the vents I put in the ceiling.

Lair42.jpg


Initial setup....and trust me, it didn't stay this bare for long. I'm trying to get temps stabilized before putting Frodo in his new home. This required trying several bulbs of various wattages. Granted, the dimmers I installed really helped. They were installed in line with the two outside lamps. The center lamp was purposely left out as it was the one I intended to use the MVB with...and for those types of bulbs, you can't use a dimmer.

Lair44.jpg


Looks like I got temps stabilized....as here's Frodo enjoying his new home.

Frodo83.jpg


This is the left side of the electrical setup. Standard outlet and a dimmer for the left lamp.

Lair49.jpg


The entire electrical setup.

Lair48.jpg


Shelving on both sides of the viv.

Lair47.jpg

Lair46.jpg


As temps seemed to stay a bit higher than desired on the cool side, I learned to use these bulbs in place of incandescent bulbs. You just can't use a dimmer with them as they could create a fire hazard.

FlourescentLights.jpg


Personally, I thought Frodo's lair was looking a bit plain, so I added ivy between the rocks. I liked it SO much better.

Lair59.jpg


Left side.

Lair58.jpg


Right side.

Lair57.jpg


This was my attempt at creating a really cool night viewing option. Unfortunately, it kept Frodo up too much, so it didn't last long.

Moonlight1.jpg


And this is pretty close to how it sits today....except that it's arranged a bit differently. Trim was added to give it a bit more of a flare. Of course, Santa and Mrs. Claus only get to hang out with Frodo around Christmas....so they're currently hanging out in a box somewhere in the back storage room.

FrodoTrim1.jpg


This is Frodo saying, "Hey! Chill out with the camera already!"

P1080018a.jpg


I'll go to Sam's enclosure, next. Should I start another thread for it? Or continue in this one?
 

staylor

Bearded Dragon Egg
3 Year Member
1,000+ Post Club
Messages
1,948
I think it should be a new thread since it is a different style. This one was a built in and Sams is a stand alone.
 

Craiger

Bearded Dragon Egg
3 Year Member
1,000+ Post Club
Messages
1,682
staylor said:
I think it should be a new thread since it is a different style. This one was a built in and Sams is a stand alone.

Yeah, that's what I was thinking, too. Okay....it's settled. ;D
 

grimm

Bearded Dragon Egg
3 Year Member
Messages
196
just out of curiosity, what are the dimensions of the tank? and are those jut normal flood lights?
 

Craiger

Bearded Dragon Egg
3 Year Member
1,000+ Post Club
Messages
1,682
grimm said:
just out of curiosity, what are the dimensions of the tank? and are those jut normal flood lights?

This one is 6 feet long, 2 feet tall and 2 feet deep. No door tracks on this viv. I do have some on Sam's, though....but just replied to you inquiry on the door tracks in another thread. ;)
 

SoleSky

Hatchling Dragon
3 Year Member
Messages
391
Wow your dragons are so lucky! What did you use to make the back wall?
 

Latest posts

Top